Irish Star Tutorial
I've created this tutorial for my Irish Star pattern in order to answer any questions about how to paper piece the diamonds that make up the pattern.
You can purchase a pdf of this pattern
here.
**************************************************************
Print off as many of the pattern templates as you feel like working on.
Stack them together, making sure they all face the same way, and trim off the excess paper, about 1/8"away from the outer line.
Now they are much easier to work with.
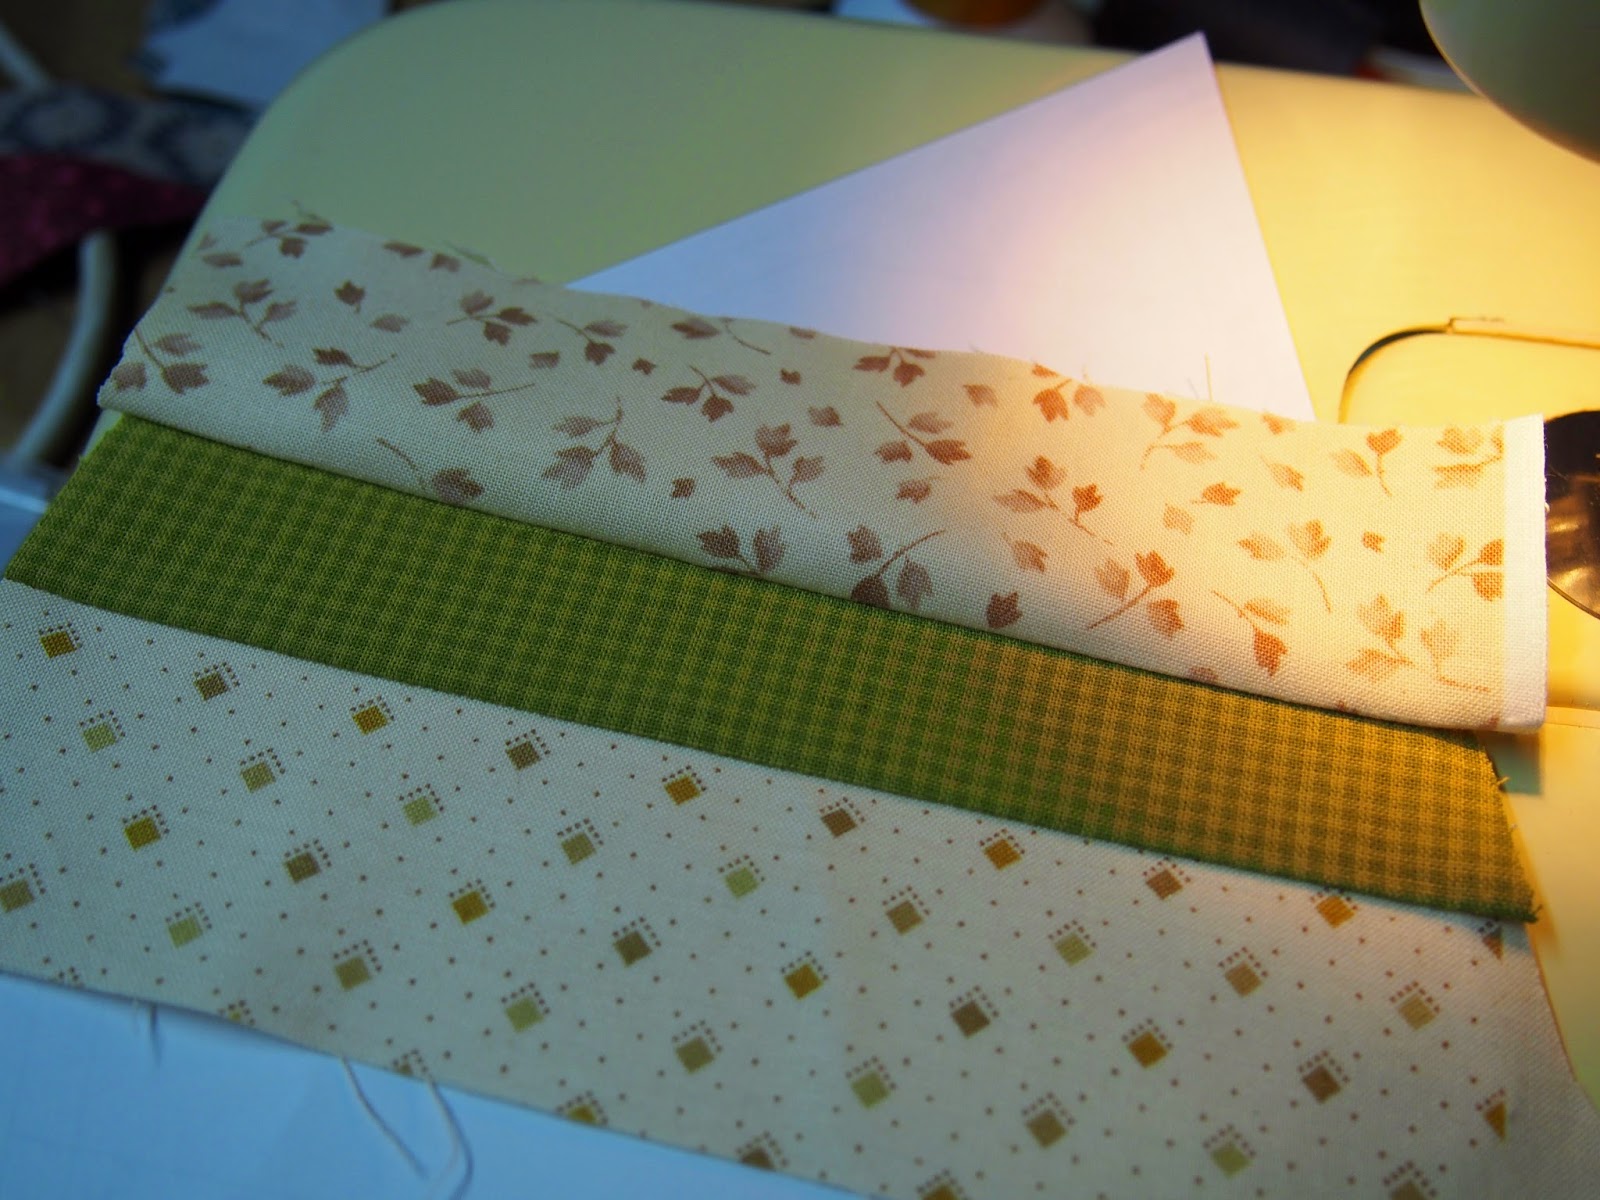
Layer a 1.75"dark and a light strip, right sides together. The measurements of each strip are printed on the template.
Place the template on the strip; one line is marked 'Sew this line first'; place the template so that this line is 1/4" away from the edge of the layered strips.
1/4" at the start;
1/4"at the end.
Shorten the stitch length to 1.5 and sew on the line.
Place the next template on the strip and sew all the way to the end. If you are using scraps then you will probably be sewing each diamond individually.
See how the diamonds are spaced apart on the strip? You need that space so that when you cut them apart there is enough fabric to cover the paper template when the fabric is folded back. Cut the strips apart between the templates.
Turn the template over;
Finger-press the strips open. You can use an iron, but it's not really necessary.
This next bit is not vital, but some people like to have a nice straight edge on the strips, and to know there's a perfect 1/4"seam; if I'm working with scraps I usually just guestimate seam allowances.
Turn the template over again and fold it back along the next printed stitching line.
Use an acrylic ruler to trim the strip 1/4" past the paper, or
use an Add-A-Quarter ruler to trim off the excess. This gadget has a little lip that sits against the paper so you can hold it steady. I love mine.
Line the next strip up with the edge you just trimmed, and stitch the next line.
Make sure that the end of the template is lined up properly on the strip; you can pin it in place if you like.
Sew as many templates as will fit on the strip; they can be as close together as you like from now on, as the pieces are getting smaller towards the point of the diamond.
Press that seam away from the previous strip,
and trim off all the edges that extend past the paper. It just makes it easier to line up the next pieces.
There is extra allowance on the paper, so you can trim pretty close to it without worrying about not having the correct seam allowance.
Fold back the next sewing line on the template, and trim off the excess of the strip you just added. Add another strip in the same way as before, and then you will be at the point of the diamond.
Use 2.5" or wider strips for the diamond tips, as they are the widest area on the template.
Chain sew them, them fold the strip up and cut apart.
Finger press the strip so that the material extends all the way past the point, then tack across the seam allowance to hold it firmly in place after the excess fabric is trimmed away.
Now you have one end of the template covered, so you just have to do the same on the other end.
Just alternate light and dark strips, and follow the strip measurements on the template.
Trim the excess paper and fabric by cutting on the outside line of the template, using your ruler and cutter.
Now they are ready to join together.
Sew on the seam line, stopping at the intersection and making two or three back stitches to secure the threads.
Remove the paper from the seam allowance.
Press the seam open. Notice that none of the seams meet; this way there's no hassle trying to match up seams. They're not supposed to meet, and the bulk of the seams are spread along the seam line so that it lies flatter.
The spiral forms when the pieces are set together; just rotate the diamonds so that the light and dark tips alternate.
In several places in my original quilt I got things mixed up, but it's all so scrappy that it's hardly noticeable.
Oops! No matter, the spiral is still there; what a fun pattern this is!
Read more...